I have seen paper beads before but never tried to make them. Today my dear friend Judy taught a mini class to a group of us and we had a wonderful time making paper beads. What you need to make the beads:
strips of text weight paper 11 inches or longer cut in rectangles or long triangles
Diamond Glaze or Glossy Accents adhesive
skewer or toothpicks
box or plastic container to use for skewer to dry beads
black marker or Krylon leafing pen (Optional)
I made a video to show how to make the beads. This is my first demo video and I have to say there's room for improvement. Sorry if the video gets a bit out of focus, hope I'll get better.
The process of making these beads is very easy and extremely relaxing. I would say if you have any decorative paper that is fibrous, it would be great to make beads.
When you make your first few beads you can start with catalogs. My favorite is Paper Source because they are brightly colored and the paper is mat finish text weight, perfect for the beads. Hope you give it a try!
I started a new journal recently when I attended a class at John C Campbell Folk School. Our teacher Eric M Scott conducted an amazing class called Beyond Blank Pages. He is an inspiring artist and I blogged about his books Journal Fodder 365 and Journal Junkies Workshop, years ago. Eric's Bio
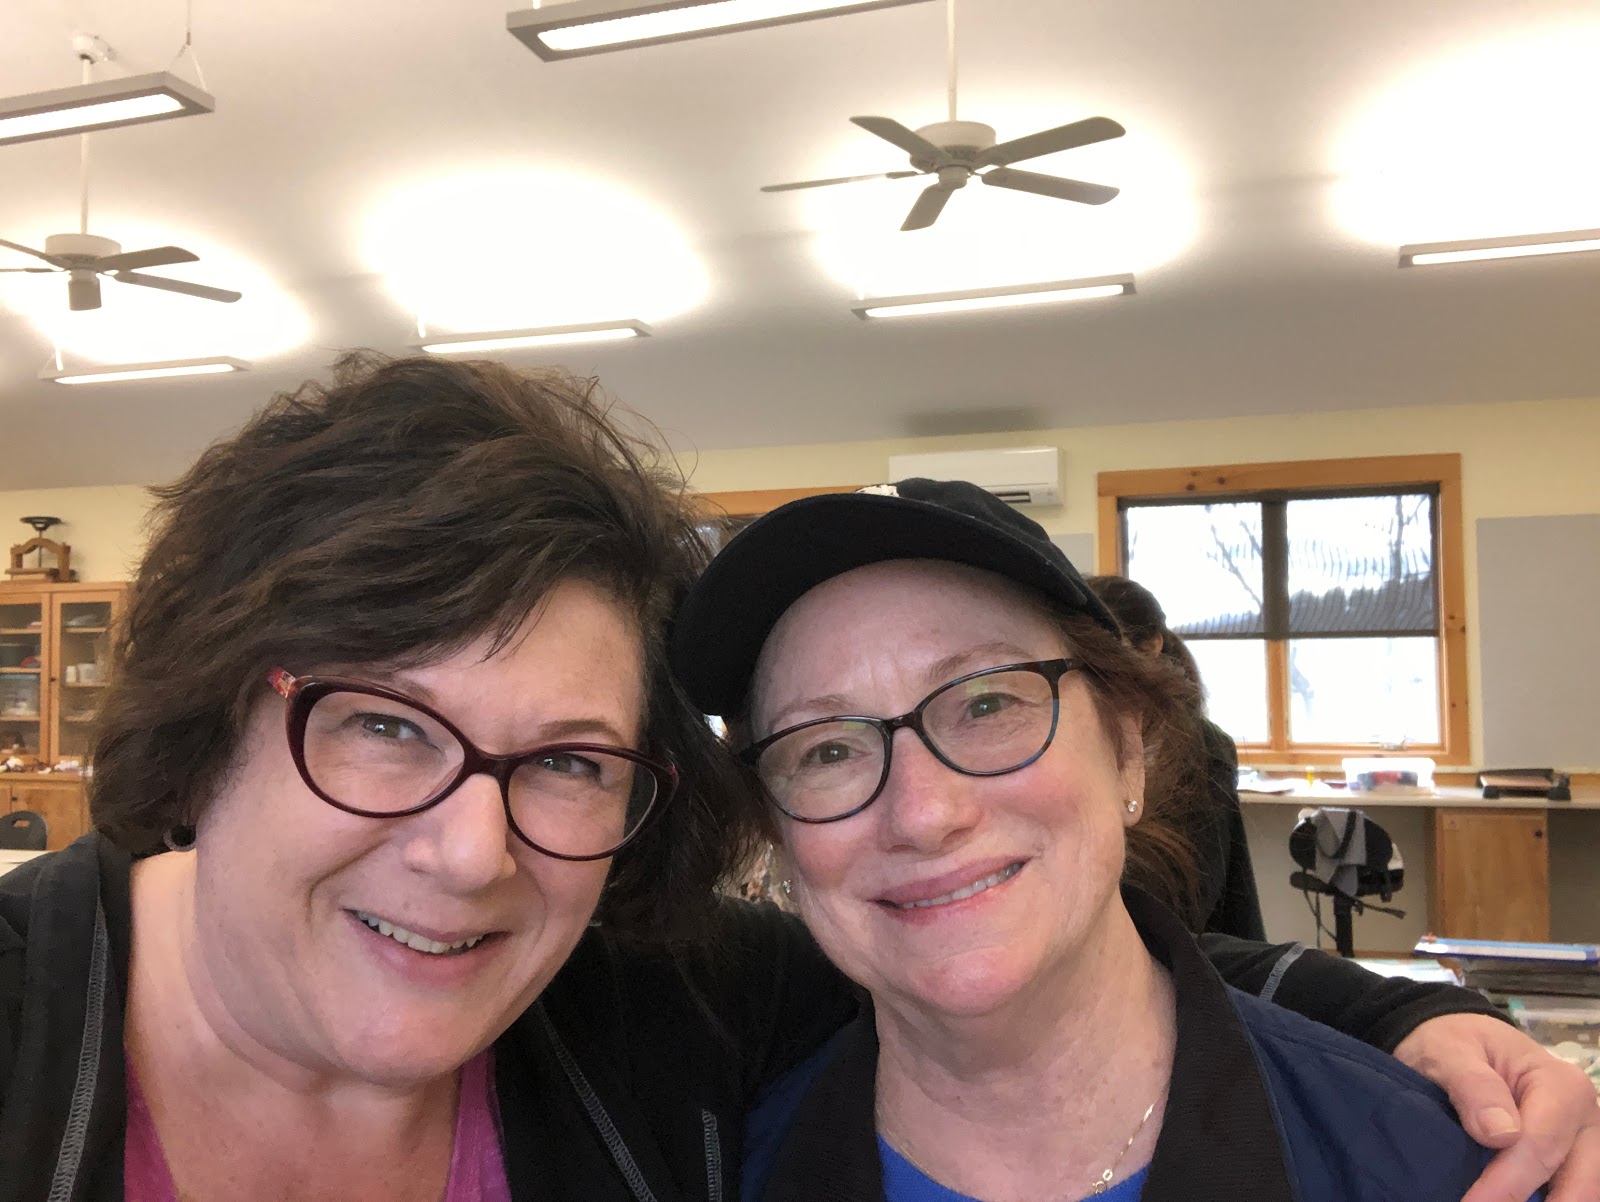
The class was AMAZING. Check out his workshop schedule here and get hold of his books. They provide an inspirational approach to journaling. Eric took us beyond just the visual aspect of the journal because he had us do writing exercises and this significantly expanded the depth of our pages. I had never done this type of exercise with creating my visual art and I found the process extremely enlightening. I think it added to my creative process. We had 9 students in the class and lots of room in the paper arts studio. We learned new techniques and then were given time to try them out. There were so many techniques that Eric shared, we filled a giant white board. The beautiful part about the John C Campbell Folk school (JCC Folk school) is that we had five days of class and it seemed like we could have spent five weeks using all the techniques. The other joy of the class was meeting a wonderful and generous group of students in the class. Everyone was a pleasure to meet, talk to, collaborate and create with. It is not an understatement to describe this vacation and class as a religious experience. The connections I made, the beauty of the location, the gift of time spent doing what I love, made this so special. I will never forget it.
Eric photobombed me!
Our amazing studio
A quick flip through my journal
Jo-Ellen working hard! Had to get pictures of the presses.
My new friend Dana
My new friend Thea
My new friend Barbara
My new friend Jenn
My new friend Robin
My new friend Eileen
My new friend Vicki
Our amazing muse Eric!
Our class's work on display on the last day at the School's show.
So next stop in some of my future posts, I'll show some of my journal pages!!
Over a year ago I saw a video on YouTube showing dot painting on rocks. It was mesmerizing. Here's the video: Dot painting tutorial I purchased a kit with some basic tools from Amazon. They included styluses with various sizes of balls. Also, the kit included colored rods, that allow for larger dots. The kit also came with a stencil, paint palette and a white pencil. I started painting on some rocks then paper mache boxes. I always start by painting the substrate black, which makes the final result more impactful. Here's a video where I decorated a page in my new tag book. It's so relaxing to do dot painting. I dispense two or three sections of the same color, then added white to make lighter hues. I repeated with a few colors, and added some white to my palette.
Here are some additional samples:
The YouTube video provides examples of tools you can make at home to do dot painting with things you probably already have. My recommendation is to dig out some acrylic paints and try it. Just try to use fluid paints that are runny. You can try to dilute heavier paints if that's all you have. If they are thicker, the circles you paint will not dry smooth, and will have too much texture. Also, after working with them for a while they start to get dried out in the palette, and they are less effective for this technique.
As of this post, I have made over 64 face masks to give to others. Once the CDC decided we should all wear masks, and preferably the ones made at home, I've been asking my family, friends, neighbors and colleagues if they need masks.
It's been an evolution after I started with one style of mask, above and switched to a different style, that has a wire at the top to fit around the top of your nose. Also, it has a pocket so that you can insert a filter.
I've gone through my fabric stash and used fabrics that I had on hand. I had to wash the fabric and dry it to make sure it was pre-shrunk then iron the fabric so I could cut it accurately. I went through several packages of elastic that I had in my stash, and ran out, then ordered more on Amazon. I was ahead of the curve in ordering so thankfully my order came in last week.
When I didn't have elastic I made masks using fabric strips as ties and learned how to make bias tape. I've really enjoyed learning new sewing techniques.
I ended up mailing 15 packages to those who were out of town. Here are samples of the fabrics and styles.
I decided to estimate the materials I've used so far:
10+ yards of material
106 yards of thread (wish I'd counted bobbins)
75+ feet of elastic
28+ feet of floral wire
3 needles
One realization is that I have a fabric addiction. It's not always easy to part with some of the fabrics I have on hand. My solution is to make something from small scraps of the fabric I used for the masks. It's like my paper addiction, the fabrics I've collected are so beautiful that sometimes it's hard to say goodbye to them!
So, I realized I should cut them up into small pieces and then plan make something in order to incorporate them in my journal, and document this journey.
Before I cut the pieces from the scrap pile into 2" square pieces, I decided I'd try a time-lapse video.
I'm overwhelmed by all the demos available right now. Artists are sharing ideas and techniques to help everyone get through this Covid-19 insanity. Some are doing Facebook/Instagram live sessions. There is a lot of inspiration flying around right now. Dina Wakley has been doing demos since mid-March and here's the link that inspired this post: Dina's Tab Book March 18
So after watching Dina's demo I decided I had to make the tab book. I told a group of artist friends and we decided to do a virtual session and make them together. It was really fun. I took chip board, pieces that were 8 1/2 by 11" and cut them in half. I painted half of them with regular gesso on both sides, and the rest with Ranger black gesso. Then let them dry.
Dina suggested using sticky back canvas for the tabs to "bind" this book. I discovered a package from long ago and decided to save this because I'd love to make a book with colorful binding. Since I had a black and white book in the works, I opted for white duct tape.
I find that the easiest way to manage pieces of duct tape is to use a cutting mat and line up and cut the pieces in advance. I made a stash of pieces that are 2" by 1.5" and these will be my tabs that will secure the pages of the book.
In her demo Dina used 2 tab pieces on one page and then 1 and alternate for all the pages. She suggests other options, and since my pages are larger, I opted to use 3 on one and 2 on the other, alternating them. This secured the journal nicely. We followed her instructions and voila, I have a journal.
The inner pages have either two corresponding tabs, or three. I am not bothered by the fact that I didn't line them up evenly, as you can see below. I'll be filling this book up with art and hopefully the tabs will melt away.
Last, but not least, I made sure I posted my book on Instagram. I really love this book and I know I'll be making more.