.post-body {font-family: Courier, monospace;}

Friday, May 12, 2023

Laura Bassen inspired triangle cards

Laura Bassen is an artist I follow. She has done some amazing cards using geometric die cut pieces. Then a friend of mine, Margarita, on a Zoom call showed us how to piece together these gorgeous cards.

After ordering some new papers, and finding some beautiful color combinations, I decided to make some cards myself. You essentially take a square piece of paper and cut it into four equal pieces to create four triangles.

Then you re-piece the squares using different colors. 

Here's one I really love:


Quilters call this a quarter square triangle and many patterns are made with these triangles.  


Another hobby . . . QUILTING

Well I've done it, gone down the rabbit hole and adopted a new hobby.  It started with the gateway drug, sewing zippered bags and eventually here I am QUILTING.  

I'm so far behind in posting to my blog that I figure I'll just create a "deluxe" post of some of my quilting projects.

My first quilt courtesy of Craftsy and a class by Christa Watson. She covered every step from start to finish and I'm really proud of this one. Particularly since the border pieces actually lined up perfectly with the sides of the quilt. The instructions had mentioned that if the border was too big, that you would have to increase the seams to "shrink it" down.  Meanwhile, if it was too short, worse you would have to rip out the seams and ease out the seam allowance to "grow" the border.  


Quilted bag

So I am a really big fan of Minki Kim who has a ton of videos on YouTube and this quilted purse is one of hers.  I purchased the pattern from her site and now I'm eager to make another one.  Great for scraps and you can add any strap to the bag. It's a sweet, light weight small bag, with a front pocket.


The project below, a quilted journal is another Craftsy find. The class is by Christina Cameli Free Motion Gifts. You begin with free motion quilting a piece that will be the outside of the journal. Then you add lining fabric and a strap.  

She is a very talented teacher and I adore her class.


The quilt below is a Moda fabric To the Sea and I purchased a jelly roll, which is a bundle of pre-cut fabrics.  I used a pattern from a friend to create the quilt below for my brother David.  I love the simple pattern and used a meandering wave like stitching pattern for the quilting. 


So here's another Minki Kim project. I purchased her pattern for this zippered bag and used some really great fabrics I picked up in Florida on a trip during the winter. The bag and each of the pieces used are quilted and some of the fabrics I found were like mixed media artworks. They have such bold colors and textures, I couldn't resist using them for this project.  

I used zipper by the yard for this project and I am really a fan of this type of zipper. First, you can make the zipper any length and this is important for this project. Second, the zipper tabs are metal, but the teeth are plastic (they look like metal though) so the quality just goes up by a factor of 10.  Finally, you can make a single or double zipper.  Actually, just remembered another benefit of zipper by the yard, it comes with wider tape then regular zippers I've purchased online.  This makes sewing with them a lot easier.


Last, but not least is the quilt I made for my sister-in-law Sue for her birthday. I found this unique and clever fabric by Ruby Star called Darlings 2 and it was a layer cake.  This means pieces cut 10 inches by 10 inches.  I ended up finding a cute, and free, pattern on Fat Quarter Shop's site. I used a wavy decorative stitch on my machine to quilt the piece.  I'm thrilled with how it turned out.


Well, that's a wrap for now.  I've been enjoying the quilt life but I think you're going to see me post soon about a new endeavor, sewing clothing.  I'm taking a class to sew a dress and the pattern also works for a shirt. I hope to have a post soon about it!

Tuesday, September 7, 2021

Another card inspired by Online Card Classes: Crushing on Cardstock

 I had a blast using my new Hero Arts die sets. I ordered them after seeing great samples during the Online Card Classes with Kristina and Jennifer!

Crushing on Cardstock

Here's the card and I love how it turned out.  I used several colors of Distress Oxide inks including Mowed Lawn, Shabby Shutters and Twisted Citron. The background die is the Hero Arts Leaves & Vines Fancy Die and it cuts out so easily. It's a joy to use this die!  

I left one die white in the background and colored another one with Distress Oxide inks. Then used the Hero Arts Flower infinity die set to punch the flowers and layer them up with the colored die pieces. 

Such a happy card!  Thanks for stopping by!


Monday, August 23, 2021

Day 1 of Online Card Class Part II

 I had to update the blog because I made another card with a chevron design and it's posted below. These are only two of the many card samples from day 1 of the class.


Yipee Day 1 of the Online Card Class: Crushing on Cardstock

So excited, it's day 1 of the Online Card Class: Crushing on Cardstock!


I'm loving Kristina's first sample and to keep it simple, that's where I will start.  I first pulled out the delicious Gina K Designs Heavy base weight card stock colors Jelly Bean green and Blue Raspberry.  Trimmed the pieces and created stripes and then made a checkerboard.  

Here's my in process pics and then . . . wait for it . . . the final card


If you haven't signed up, go for it!!  It's a really reasonable price and it's only day one and I'm thrilled. Plus I learned some clever tricks to help make the cards. Well worth the investment.


Wednesday, March 24, 2021

I'm obsessed with zippered bags

Okay, I have a true addiction, a serious problem and luckily it's one that doesn't hurt other people. I am obsessed with making zipper bags. I love making different kinds and thank heavens for YouTube because so many people will walk you through it, step by heavenly step.

Here's the link to my latest version by Lauren Mormino

Let me know what you think. The inside is waterproof canvas, so it's a great bag for taking on trips to store bottles of shampoo, hairspray, etc. I've only just begun with these.

I've done two different styles of boxed corners and I think I've changed my approach with this style of bag. I have to go slow, and with the vinyl you cannot flip the bag as easily (just once at the end is enough for me). You have to take your time and really line things up. 


The bag below with the math fabric, I mean isn't it the best??


Thanks for visiting my little creative corner of the world!

Tuesday, March 23, 2021

Some Christmas joy from the archives

I'm sharing some fun cards from the archives. The stash of supplies and goodies that I had forgotten existed, stored in the corner of the basement in a white Elfa rolling storage unit, full of book and project kits. 

These are three Christmas cards that may have been intended as samples for a class. These cards are highly embellished and not realistic for my handmade cards as I make approximately 80 cards for friends, family and colleagues. The cost of mailing cards that are thick would require more postage, special mailers and would be prohibitive.

Anyway, hope you enjoy them.  

-------------------------------------------------------------------------------------------

This first card was inspired by Impress.  I printed this page from their web site in 2004 with this sample card.  I came up with my own version that uses wire and aluminum tape for the ornament hangers. I also embossed the oval embellishment, which is a die cut, on the joy ornament.  The embossing would  probably not survive the USPS.

However, this card did ultimately inspire my real life Christmas card. I can't put my hands on the actual card, but I did make a simpler version for my recipients based on this card idea.


This card uses a similar approach with embossing the die cuts and I just love the little embossed tag as well. The colors are non-traditional but they conjure cold winter weather.


Finally, this card has loads of clear buttons with decorative paper backing each one. The three messages are made from cardstock strips that were put through an old school manual label maker.  To highlight the words I rubbed ink on the strips, to help the letters pop. As with the other two cards, not very practical but I do love how it turned out. Maybe I can adapt it in the future for one of my own holiday cards.


Thanks for stopping by friends!

Monday, March 22, 2021

A trip through my archives

 I'm not sure what is spurring a recent need to cull through my "hoard" but it has been a pleasant journey. I plan to post some of the fun finds. I'm realizing that it's been way to long since I've posted.

My goal was to clean out old paperwork stashed in a full size file cabinet. I had forgotten that I had a full drawer full of class instructions and samples for classes I used to teach, as well as samples and information related to classes I've taken in the past. Since I no longer teach, it made sense that I could disassemble these packets and recycle/reuse the instructions and in doing this I discovered what I like to call "oldies but goodies."

I'm posting photos from a class I took on the 2005 Carol Duvall Crafting cruise. Karen Elaine Thomas was the teacher, and she demonstrated for Yasutomo. I'm such a fan of her projects as I love origami. This is an adorable passport case, but it can be anything. I'm going to stash this in my purse and use it for receipts. It's made from paper and she had us apply a coat of varnish to the finished project to help protect it.

I found a video on YouTube where she makes a smaller version, but it's the same concept. Such a fun and easy project.

Karen Thomas case project


To illustrate the pockets, I have business cards inserted below! There are four pockets, in addition to the fun envelope attached to the spine. Lots of space for tucking receipts.


Tuesday, September 15, 2020

Interactive Journal Pages

Hi there!  I've been so busy creating that I seem to have trouble finding the time to blog about it. I'll be in catch up mode so the projects I'm sharing actually date back to the early days of Covid19. When we first had the shelter in place orders and all the traveling artists started sharing amazing demos.

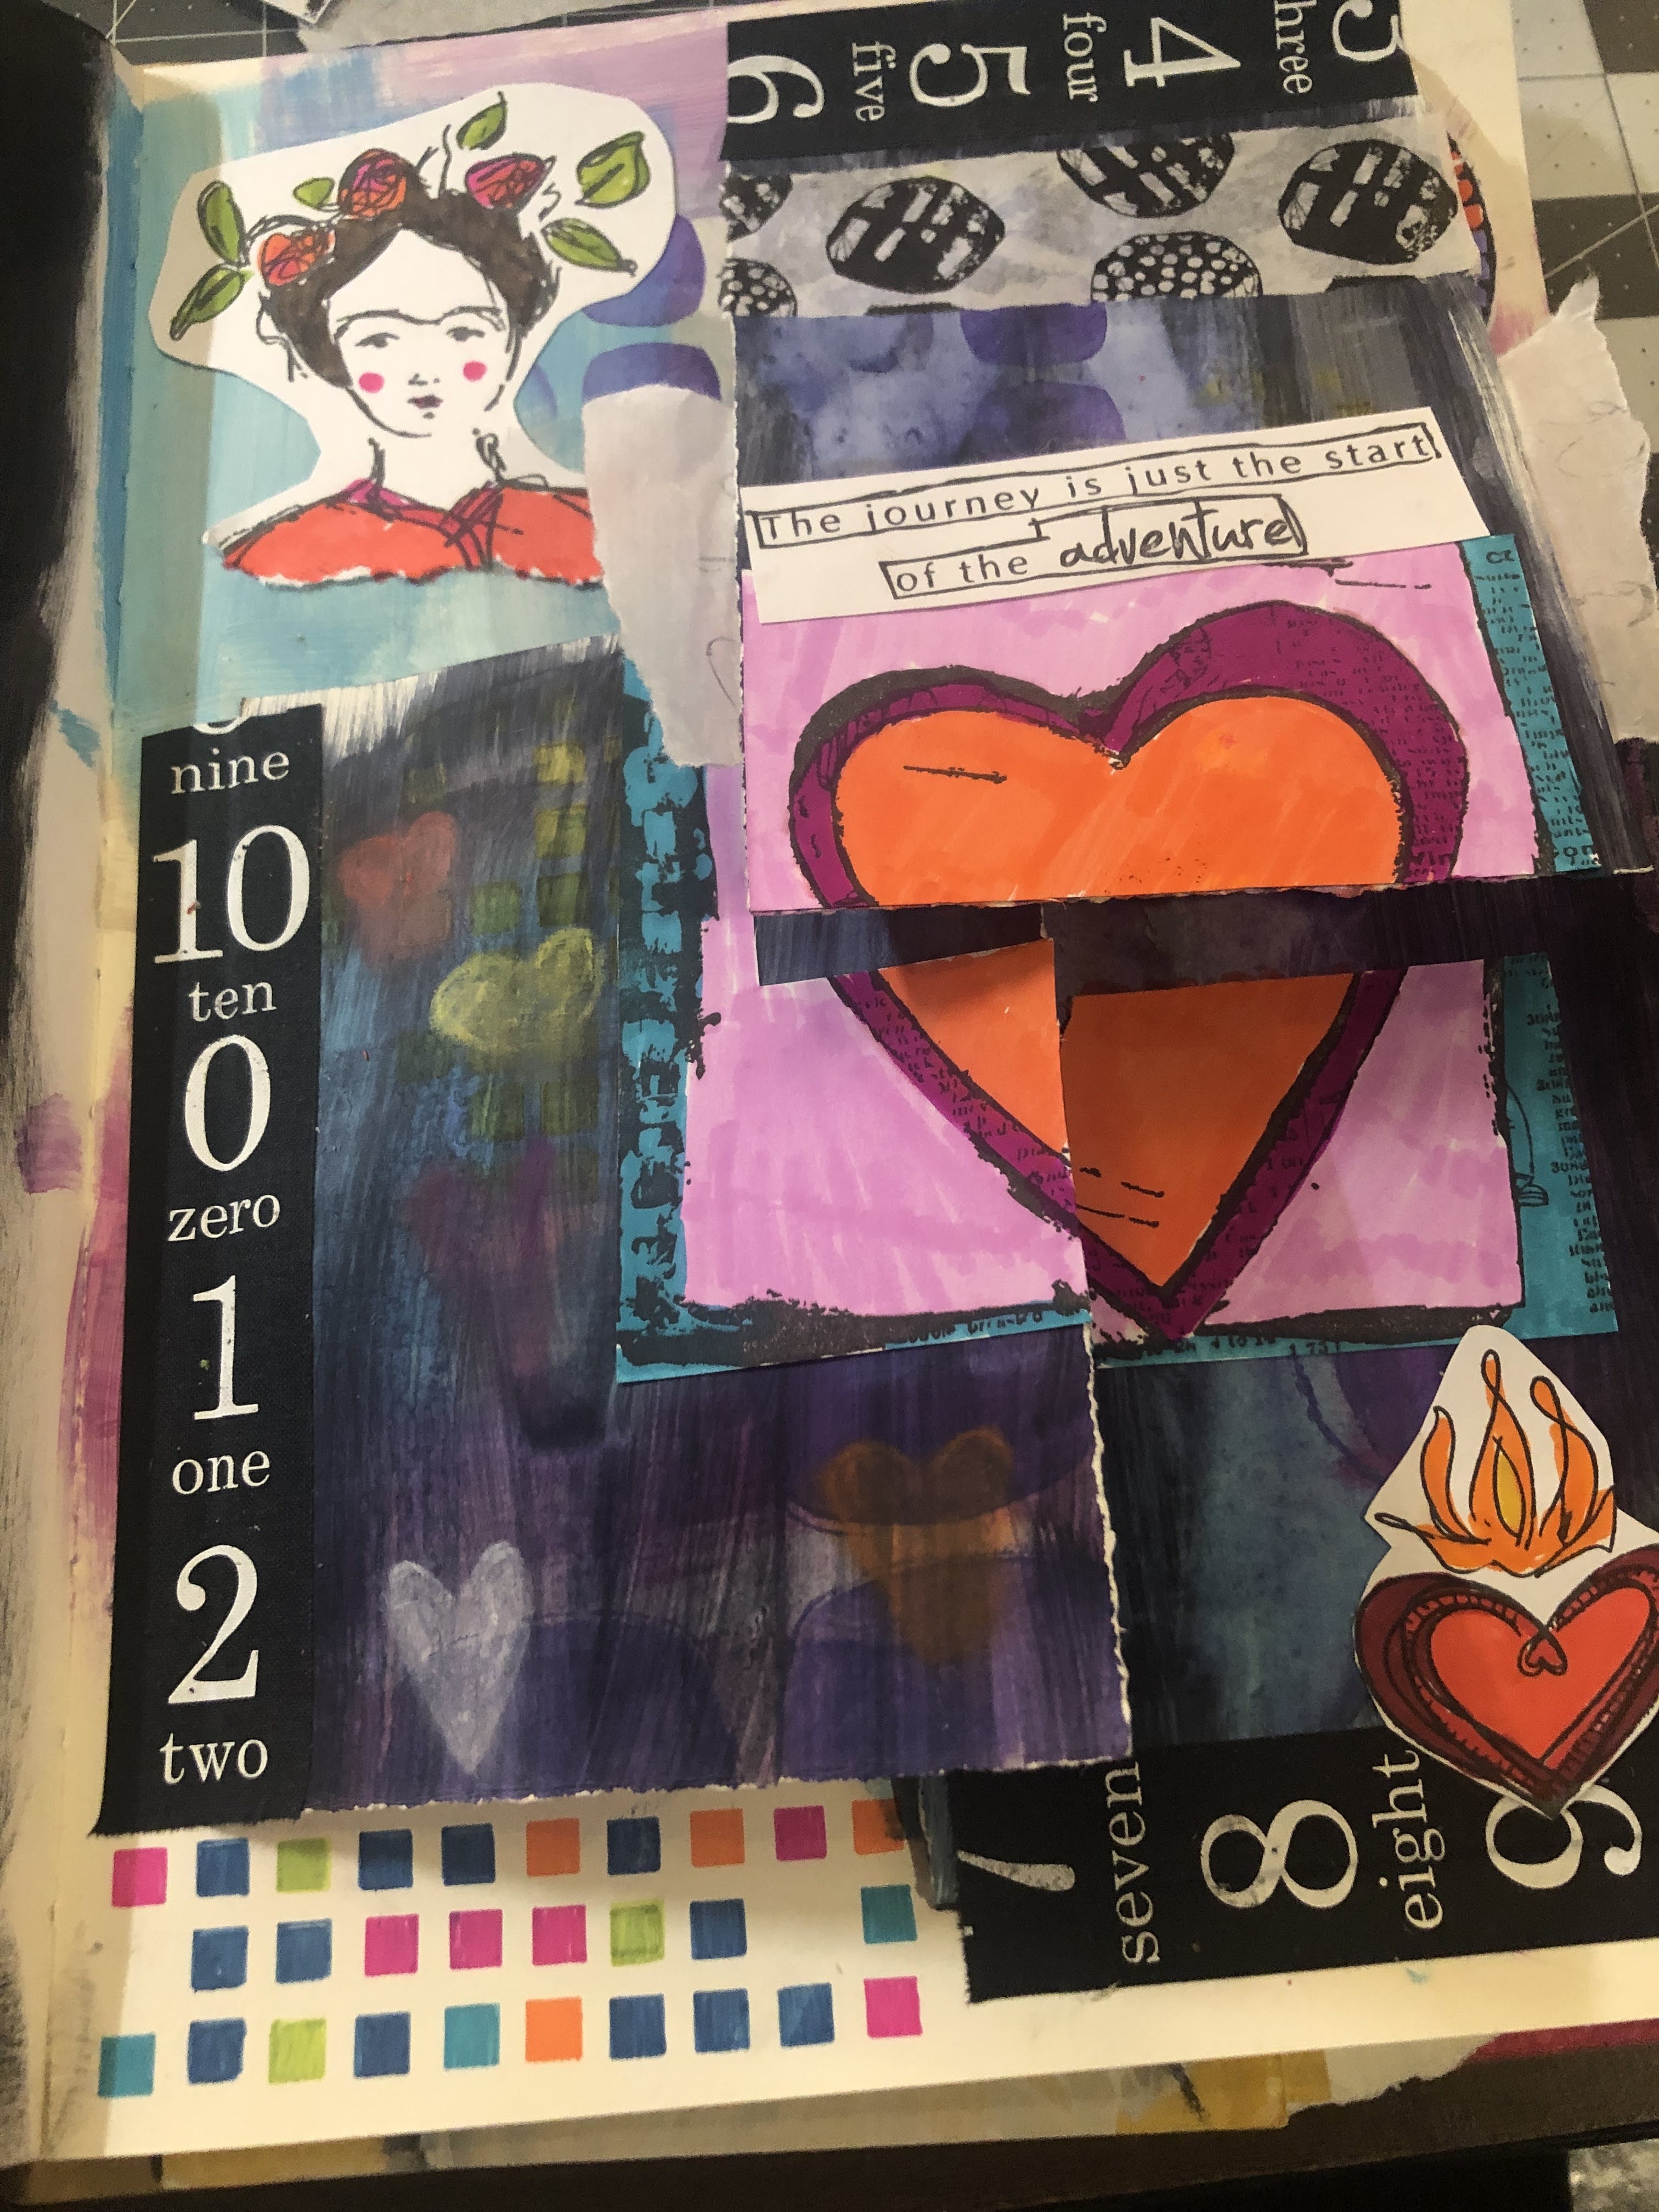
Dina Wakley is one of my favorite artists and I decided to take a Facebook class with her. I'm posting some of the pictures from the class where we made an interactive journal page.

It's really interesting that I've done less journaling and more of other projects since the pandemic. 


Tuesday, July 7, 2020

Backgrounds to the forefront

I'm loving a technique that my friend Brenda shared with me. I have summarized the steps.

It's similar to the result you'd get if you worked with your gel plate. This technique allowed me to pull out and use supplies I've had hanging around for a long time.

Here are the steps:

1. Use large sheet of cardstock or mixed media paper. Use smooth paper and working big is the most productive option.

2. Draw random overall pattern with colored pencils (non water based). If you use regular pencils then the lines will remain after you apply water to the page.  If you use watercolor pencils, the lines will blend.


3. Use water soluble crayons (can use water colors instead) and make circles or scribbles all over the page using colors that work harmoniously together. My suggested palette is red/orange/yellow or blue/green/yellow. Leave some white space but go for a lot of color.

For interest, you can add small areas of black.


If you have non-water soluble crayons like oil pastels, use them sparingly and make small marks like "+" or other scribbles on the page. These will not blend and will be visible after you have applied other layers of color.

4. Pull out a water brush or use a paint brush with clean water and blend the colors so that you have blended most of the color on the page. Leaving small areas of white is fine.

5. Dry the page with a heat gun or allow to dry.


6. Select a tool to apply paint to a stencil, choose white acrylic paint and two other light colors that go with the colors of your background. Put a small amount of paint on a palette.  Choose two to three stencils, vary the openness of the stencil so that you can apply a large area of paint or a small area of paint.

Using the tool, stencil paint on the background and cover up areas that are too bright, or those you don't like.

7. Stamp using small "mark making" stamps that have patterns, or little doodle-like designs. Don't try to make the stamping perfect, if the stamp is unmounted, use only portions of it to stamp. Use black permanent ink to stamp and feel free to stamp off the first impression and use the ghost prints which are lighter in color.

8. Cut out large letters free-hand from the paper, draw the letters on the back and cut them out or use your die-cut machine. Trim the letters in black and use a marker to add lines and doodles to the letters.  This will help make the colors pop. Adding black pulls the work together and helps make the colors pop.

Here are samples of my final projects.  The top two cards are using letters I sketched with pencil and cut out.  The bottom card has letters from my die-cut machine.


Layering the letters on black card stock also make them pop.  I love Hero Arts black card stock, it's the best I've found.

Give it a try!!

Sunday, April 26, 2020

Paper beads

I have seen paper beads before but never tried to make them. Today my dear friend Judy taught a mini class to a group of us and we had a wonderful time making paper beads. 

What you need to make the beads:


  • strips of text weight paper 11 inches or longer cut in rectangles or long triangles
  • Diamond Glaze or Glossy Accents adhesive
  • skewer or toothpicks
  • box or plastic container to use for skewer to dry beads
  • black marker or Krylon leafing pen (Optional)
I made a video to show how to make the beads. This is my first demo video and I have to say there's room for improvement. Sorry if the video gets a bit out of focus, hope I'll get better.

The process of making these beads is very easy and extremely relaxing. I would say if you have any decorative paper that is fibrous, it would be great to make beads. 

When you make your first few beads you can start with catalogs. My favorite is Paper Source because they are brightly colored and the paper is mat finish text weight, perfect for the beads.  Hope you give it a try!


Here's a time lapse making a bead:


Tuesday, April 14, 2020

John C Campbell and class with Eric M Scott Beyond Blank Pages

I started a new journal recently when I attended a class at John C Campbell Folk School.  Our teacher Eric M Scott conducted an amazing class called Beyond Blank Pages.

He is an inspiring artist and I blogged about his books Journal Fodder 365 and Journal Junkies Workshop, years ago.  

Eric's Bio

Eric's amazing blog

Eric's shop

Eric's early books on Amazon

The class was AMAZING. Check out his workshop schedule here and get hold of his books. They provide an inspirational approach to journaling. Eric took us beyond just the visual aspect of the journal because he had us do writing exercises and this significantly expanded the depth of our pages. I had never done this type of exercise with creating my visual art and I found the process extremely enlightening. I think it added to my creative process.

We had 9 students in the class and lots of room in the paper arts studio. We learned new techniques and then were given time to try them out. There were so many techniques that Eric shared, we filled a giant white board. The beautiful part about the John C Campbell Folk school (JCC Folk school) is that we had five days of class and it seemed like we could have spent five weeks using all the techniques.

The other joy of the class was meeting a wonderful and generous group of students in the class. Everyone was a pleasure to meet,  talk to, collaborate and create with.

It is not an understatement to describe this vacation and class as a religious experience. The connections I made, the beauty of the location, the gift of time spent doing what I love, made this so special. I will never forget it.


Eric photobombed me!


Our amazing studio


A quick flip through my journal


Jo-Ellen working hard! Had to get pictures of the presses.


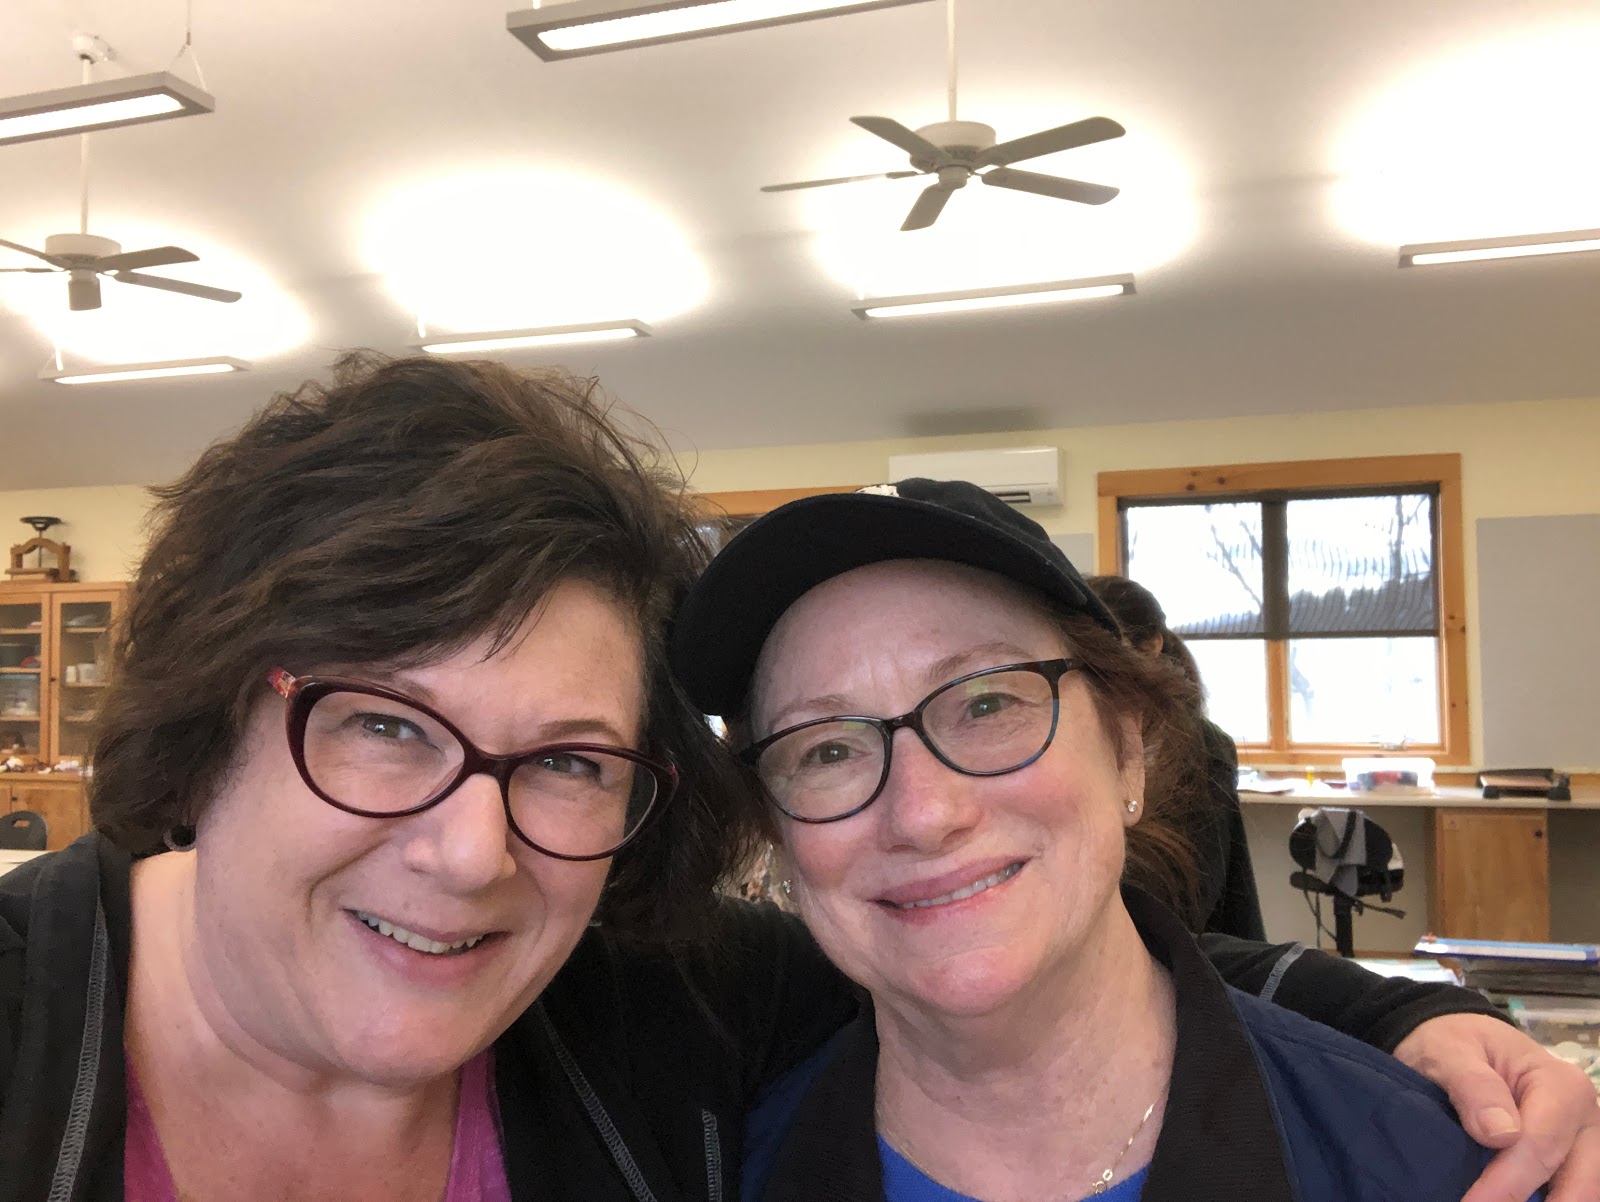
My new friend Dana


My new friend Thea


My new friend Barbara


My new friend Jenn


My new friend Robin


My new friend Eileen


My new friend Vicki


Our amazing muse Eric!


Our class's work on display on the last day at the School's show.


So next stop in some of my future posts, I'll show some of my journal pages!!